
I hate baking. Probably because I’m terrible at it and I fail 9 times out of 10. But, for some reason I am really good at making chocolate chip and sugar cookies.
I didn’t want to make plain old sugar cookies so I added some fresh lemon juice and grated ginger. These cookies turned out SOOOO well. They lasted about an hour in my house. My only regret is not adding enough fresh ginger. The lemon was definitely the more dominant flavor. I added 1 tsp of fresh ginger, but next time I think I will add 2, so I’ve adjusted the recipe below.
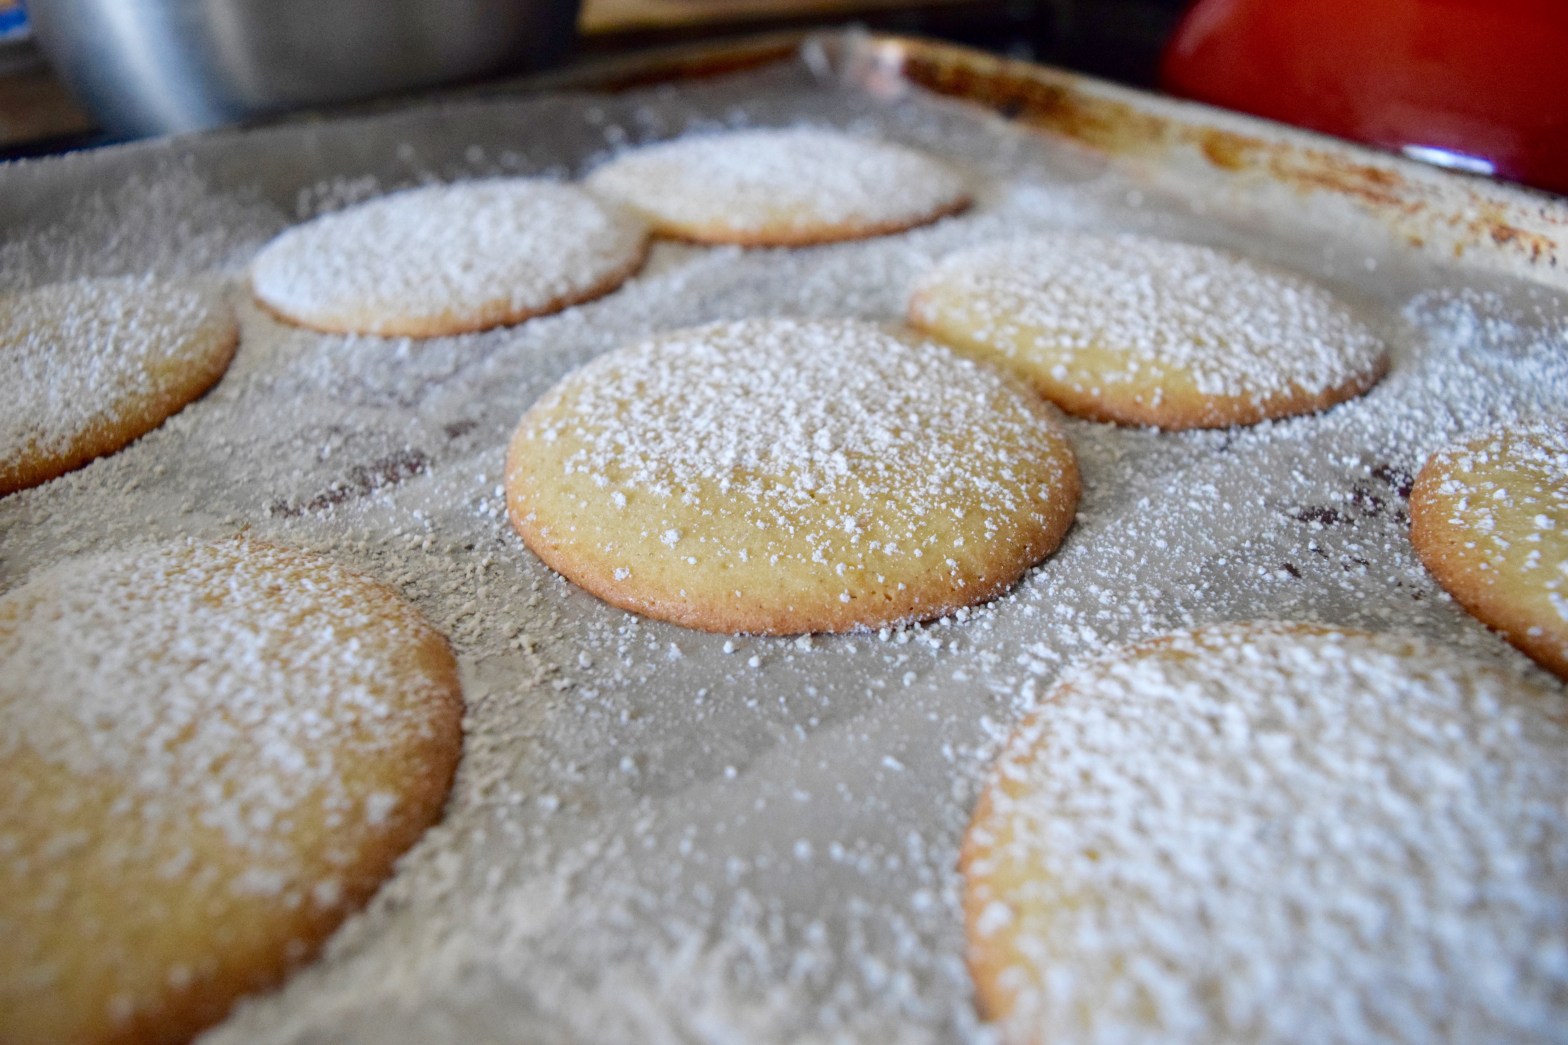
Dusting the cookies with powdered sugar at the end was my favorite part because I usually don’t “decorate” my food. Not gonna lie, I got into it. It was cute.


These aren’t overly sweet and go great with fresh lemonade or tea! Enjoy!
Lemon Ginger Cookies | Gluten & Dairy Free
*All ingredients are organic, and purchased at Oliver’s Market in Sonoma County, CA
Ingredients:
1.5 cups of all purpose gluten free flour ( If your blend doesn’t had xanthan gum, add 1.4 tsp )
1/2 cup of dairy free margarin
1 cup of sugar
1 large egg
1/2 tsp gluten free baking powder
1/4 tsp salt
1/2 tsp lemon zest
2 tsp of freshly grated ginger
1 TBSP lemon juice
1/2 tsp vanilla extract
powdered sugar for dusting
Directions:
- Preheat oven to 350 degrees
- In a Kitchen Aid or hand mixer, cream margarine and sugar together. Add egg, vanilla lemon juice, lemon zest and grated ginger. Combine, but don’t over mix.
- In a separate bowl, mix dry ingredients. Slowly add dry ingredients to the wet, scraping down the sides from time to time to make sure everything is well mixed.
- Cover the bowl with cling wrap and chill in the fridge for at least 30 min.
- Line a cookie sheet with parchment paper. Do not skip the parchment paper! I learned this the hard way.
- Grab a heaping TBSP of dough and flatten out onto cookie sheet with your hand or a fork. Repeat until sheet is full.
- Bake for about 13-15 min, Keep an eye out for browning edges, then take out.
- Allow to cook completely before trying to pull off from the parchment paper. Also learned that the hard way.
*Told you I’m a terrible baker. But these cookies rock! Please let me know how they turn out if you give it a try!
